Installing built-in wardrobes in Sydney apartments requires more than selecting finishes or deciding how much hanging space is needed. Apartment layouts often present specific challenges, from limited floor area and fixed structural elements to strata requirements and access restrictions that can affect both the design and installation process.
Silva Wardrobe understands how apartment layouts, access restrictions and strata requirements can affect the planning and installation of built-in wardrobes in Sydney. Careful preparation can improve storage capacity, maintain comfortable circulation throughout the room and reduce the likelihood of costly changes once installation begins.
Accurate measurements are the foundation of any successful built-in wardrobe in an apartment. Space is often limited and fixed elements cannot always be moved easily, so every millimetre matters. Poor measurement can lead to doors hitting light switches, drawers failing to open fully or wardrobes overpowering the room.
Before any design decisions are made, the wall, floor and ceiling conditions need to be understood. This means looking beyond the basic width and height to how the wardrobe will sit in relation to doors, windows, skirting boards, ceiling features and services hidden in walls or ceilings.
Start with the clear wall width where the wardrobe will sit. Measure at the floor, mid-height and near the ceiling, as apartment walls are not always perfectly straight. Use the smallest measurement as the working width so the wardrobe can fit without forcing panels or relying on excessive trimming on site.
Floor-to-ceiling height should also be measured at multiple points along the span. Older apartments may have uneven slabs, sloping ceilings or cornices that reduce the available height. Record the lowest height and allow a small tolerance at the top so the wardrobe can be installed without damaging plaster, ceiling linings or decorative details.
Depth is just as important. For standard hanging space, an internal depth of about 550 to 600 mm is usually needed so clothes can sit comfortably on rails without being crushed against doors. In tighter rooms, shallower wardrobes may still work if they use front-facing rails, shelves, drawers or other storage options instead of standard hanging.
The condition of the surrounding surfaces can affect the finished result. Walls, floors and ceilings should be checked for bows, slopes or uneven areas. Significant variation may require scribed panels, fillers, adjustable feet or plinths so the wardrobe sits neatly against the room.
Clearance is another key consideration. Measure how far nearby entry doors, room doors and existing cupboard doors swing. If the wardrobe is close to a bed, desk or window seat, there also needs to be enough space to walk comfortably and open drawers without hitting furniture.
Access inside the room should be checked at the same time. A wardrobe that fits along the wall may still feel too large if it narrows the walkway or makes the bedroom difficult to use.
All fixed features along the wall should be mapped before the wardrobe design is finalised. This includes power points, light switches, data outlets, air vents, wall heaters, intercoms and any access panels. Their exact position should be measured from adjacent walls and the floor.
Some fixtures may need to be moved by a licensed tradesperson. Others may be integrated into the cabinetry with cut-outs or access panels. Essential services should not be enclosed in a way that prevents future maintenance.
Ceiling features also matter. Bulkheads, sprinklers, smoke alarms and ducted air-conditioning runs can restrict wardrobe height or require a stepped design. Windows and natural light should also be considered so the wardrobe does not block openings, reduce ventilation or make the room feel enclosed.
The choice between sliding and hinged wardrobe doors has a major impact on how the wardrobe functions in an apartment. It affects usable floor space, access to storage, maintenance and the overall appearance of the room.
The best choice usually depends on the room dimensions, nearby furniture and how the wardrobe will be used day to day.
Sliding doors are often well suited to compact apartments, narrow bedrooms and studio layouts. Because the panels move along a track rather than opening into the room, furniture can sit closer to the wardrobe front. This can be useful where a bed, desk or passageway leaves limited clearance.
Hinged doors need clear space in front of the wardrobe to open properly. A standard hinged door may require around 600 to 800 mm of unobstructed floor space. If a bed or wall is too close, the doors may only open partway, making the wardrobe frustrating to use.
Corner wardrobes may benefit from hinged doors in some sections because they can provide better access into angled or awkward storage zones. In contrast, sliding panels can sometimes overlap and restrict access to corners.
Access is often the deciding factor. Sliding doors only allow part of the wardrobe to be open at one time because one panel sits in front of another. This may be fine for simple hanging and shelving layouts, but it can be less practical if drawers, baskets or corner shelves need full access.
Hinged doors open an entire section at once, making it easier to view clothing, reach drawers and use accessories such as pull-out racks. They can also allow hooks or small racks to be installed on the inside of the doors.
Maintenance should also be considered. Sliding doors rely on tracks and rollers, which need to stay clean and properly aligned. Hinged doors rely on hinges, which are usually straightforward to adjust, but the cabinet must be installed accurately so doors do not swing open, sag or sit unevenly.
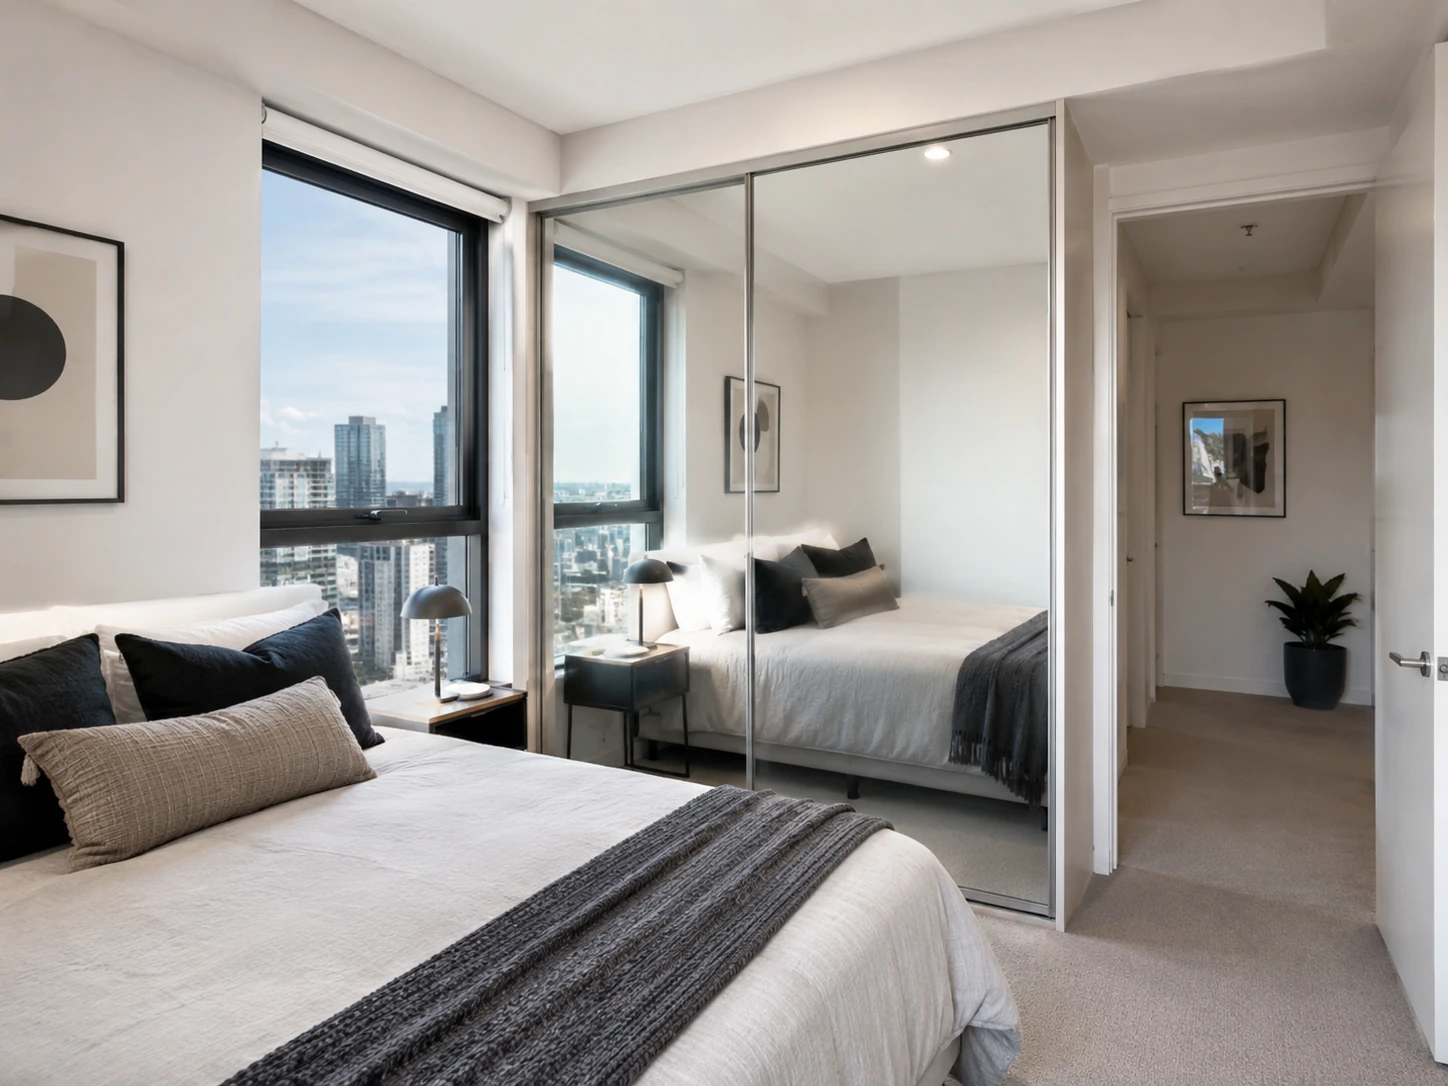
Sliding doors often suit a clean, contemporary look because they create large, uninterrupted surfaces. Mirrored sliding doors can be particularly useful in compact apartments because they provide a full-length mirror while helping the room feel larger and lighter.
Hinged doors may suit apartments with more traditional or detailed interiors, especially where routed panels, handles or decorative profiles are preferred. They can also allow more flexibility when mixing finishes across different door sections.
Handle choice should be included in the decision. Sliding systems generally work best with recessed or low-profile handles so panels can move past each other. Hinged doors can accommodate a wider range of knobs, pulls or finger-pull details that may match other joinery in the apartment.
Access is one of the most commonly overlooked parts of apartment wardrobe planning. A design may work perfectly on paper, but installation can become difficult if large panels cannot fit in the lift, stairwell or corridor.
Checking access early helps avoid damage to common areas, extra labour charges and last-minute design changes.
Every access point should be checked before manufacturing begins. This includes the building entrance, lift door, lift interior, stairwells, landings, apartment entry door, internal doors, hallways and tight corners.
The narrowest or lowest point along the route will often determine the maximum size of wardrobe components. For example, a full-height side panel may need to be split if it cannot be carried safely through the lift or stairwell.
This is especially important for high-rise buildings, older apartment blocks and buildings without goods lifts.
Good wardrobe design should respond to the building’s access conditions. Where access is limited, large carcasses may need to be broken into modular sections that can be assembled in the room. Full-height panels may need to be split, and oversized sliding or mirrored doors may need to be replaced with smaller panels.
Flat-pack style components can also be useful in apartments because they are easier to move through tight spaces and assemble on site. This may introduce more joins, but careful detailing can still create a clean and solid finished result.
The aim is to plan these decisions before production, rather than trying to solve access problems on installation day.
Apartment wardrobe projects can be delayed if strata rules and building access conditions are overlooked. Built-in wardrobes may seem like a simple internal upgrade, but fixing cabinetry to walls, ceilings or floors can still be subject to strata requirements.
Before finalising the design, it is worth confirming what approvals, notices or contractor rules apply to the building.
Many strata schemes distinguish between cosmetic changes, minor renovations and major renovations. A built-in wardrobe may fall into a minor renovation category if it involves fixing into walls, floors or ceilings.
Rules may apply to drilling into common property, party walls, concrete slabs or fire-rated and acoustic linings. Some schemes may also restrict work that affects services, ventilation, sprinklers or building systems.
If there is any uncertainty, it is better to clarify the requirements before the wardrobe is ordered. This can prevent delays, redesigns or disputes after work has started.
Building management may have separate requirements for contractors, even if strata approval is straightforward. These can include permitted work hours, lift bookings, loading bay access, insurance documents and protective coverings for common areas.
Some buildings require contractors to provide public liability insurance, complete induction forms or pay a refundable bond before work begins. Others restrict noisy work to certain hours or prohibit weekend installation.
Confirming these requirements early helps the installer plan the delivery, installation schedule and waste removal without causing disruption to other residents.
A built-in wardrobe installation can involve carrying large panels, cutting materials, drilling fixings and removing packaging. In an apartment building, this needs to be planned carefully because work can affect neighbours, shared corridors, lifts and common areas.
Good preparation helps the installation run smoothly and reduces the chance of complaints or delays.
The installation area should be completely cleared before work begins. Clothes, boxes, artwork, freestanding furniture, power boards and any removable shelving should be moved out of the way.
The access route from the apartment entry to the bedroom should also be clear. Fragile items along this path should be relocated so installers can move panels safely through the apartment.
Floor protection is important, especially in compact apartments where installers may need to move repeatedly between the entry, cutting area and wardrobe location. Drop sheets or protective coverings can help reduce scratches, dust and damage.
Installation usually involves short periods of noise from drilling, cutting and fixing. Choosing a time that aligns with building rules and avoids early mornings or evenings can help reduce disruption.
If the building has a goods lift or loading zone, these should be booked for the agreed delivery and installation times. For walk-up apartments or buildings with narrow stairs, the installer should be told about access limitations before the day of installation.
Waste removal should also be confirmed. Cardboard, plastic wrap, offcuts and old wardrobe materials can quickly take up space in a small apartment. Having the installer remove waste, or arranging a suitable disposal option, helps return the apartment to normal sooner.
Before manufacturing or installation starts, the final design should be reviewed in full. This is the point where measurements, layout, finishes, door style, hardware and internal fittings are confirmed.
A clear final design reduces the risk of changes on site and helps ensure the wardrobe suits both the apartment and the way it will be used.
The final drawings should be checked against the real site conditions, not just an original floor plan. Wall-to-wall width, floor-to-ceiling height and available depth should be confirmed after allowing for door swings, walkways, skirting boards, cornices and nearby furniture.
If walls or ceilings are uneven, the design should show how fillers, scribing or adjustment will be handled. This is important for achieving even gaps, aligned doors and a neat built-in finish.
Any power points, access panels, vents or services near the wardrobe should also appear on the plan so they are not accidentally blocked.
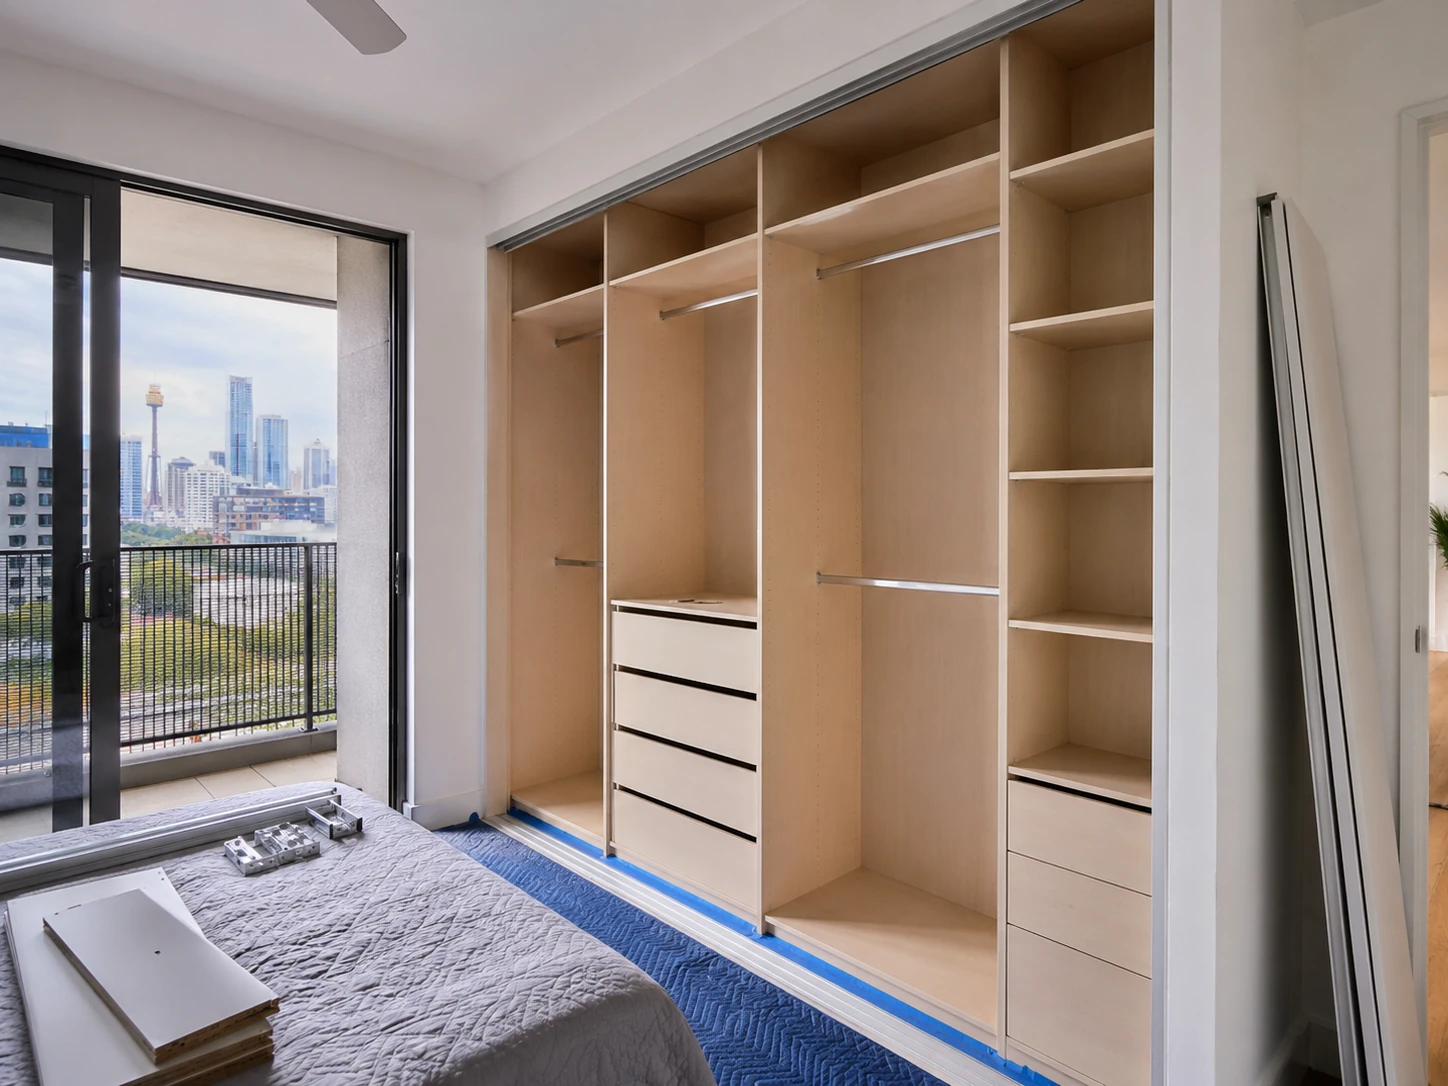
The internal layout should match daily storage needs. Shelves, drawers, hanging rails and accessories should be confirmed in exact numbers and dimensions rather than left vague.
For hanging space, the design should distinguish between full-length hanging for coats or dresses and half-height hanging for shirts, jackets and trousers. Shelves should be spaced to suit folded clothing, shoes, bags or storage boxes. Drawer depth should be checked against what will actually be stored inside.
If more than one person will use the wardrobe, the layout should make it clear which sections belong to each user. This helps avoid awkward heights, wasted space or storage that does not suit everyday routines.
The final appearance of the wardrobe depends on finishes, door style and hardware. Colour, material, sheen level and edge details should all be specified clearly. Where possible, physical samples should be compared against the apartment’s flooring, wall colour and existing joinery.
Door type should also be confirmed against the room layout. Hinged doors need clear swing space, while sliding doors need enough width for panels to stack without blocking frequently used sections.
Handles, finger pulls, soft-close mechanisms, hanging rails, baskets and internal accessories should be listed on the final plan. Any integrated lighting or power should be coordinated with a licensed electrician before installation so cables, switches and access points are properly planned.
Installing a built-in wardrobe in a Sydney apartment involves more than choosing a door style or internal layout. Accurate measurements, smart space planning, suitable door selection, access checks, strata requirements and installation coordination all affect the final result.
By considering these details early, apartment owners can create a wardrobe that improves storage, fits the room properly and avoids unnecessary delays or disruptions during installation. A well-planned built-in wardrobe should feel integrated with the apartment, provide practical everyday storage and make better use of the available space.
Here at Silva Wardrobes, we believe that you shouldn't have to compromise on quality when you’re on a budget. We offer a wide range of built in wardrobe designs in varying materials and finishes, so you can get the perfect built in or walk in wardrobe for your home no matter what the budget you're working with.
Proudly Australian owned and made. All our work is carried out locally in Sydney with only the highest level of craftsmanship and comes with a lifetime guarantee.

Contact us for a free measure and quote in the Sydney metropolitan area. We send out a qualified tradesman, not just a salesman.

We then create all the components to your perfect built in wardrobe to exact specifications using only the highest quality materials

A wardrobe technician will then deliver and install your wardrobe ensuring you are 100% happy with the job before they leave.

